How to install roller shutters

Installing a roller blind is a great way to add privacy and style to your home. This simple tutorial will show you how to install a roller shutter. In the end, you will be able to choose from a variety of stylish designs and textures for your new blind (PVC roller shutters, thermal aluminium roller shutters, alicantina exterior shutterGet ready to be inspired!
Choosing the right place
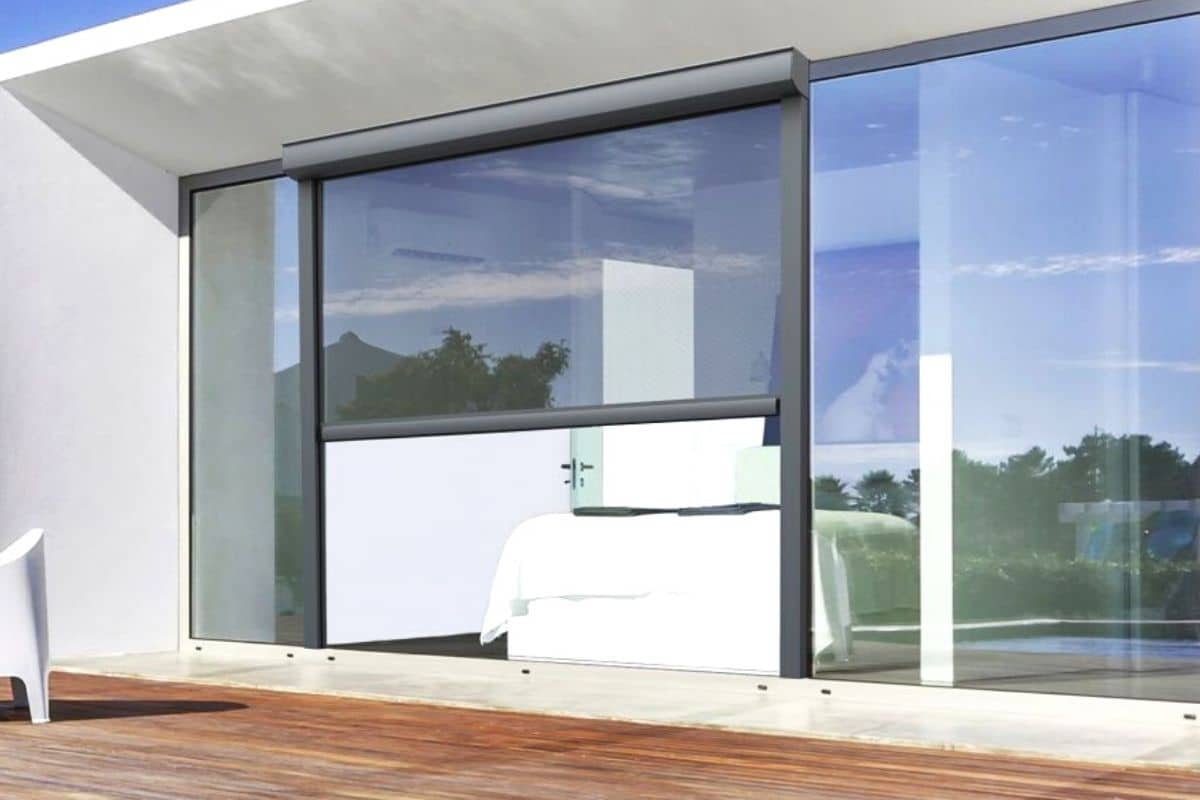
First of all, you should know that the roller blinds are placed in front of the window. Depending on the space you have available and your taste, you can place yours on the frame, above the frame or on the ceiling.
See if there are obstacles
Check that there is nothing that might hinder the window shade up or down. This can happen, for example, if the window handle protrudes too far. In this case, you should hang the blind so that it does not roll up behind the roller, but in front of it.
Measuring the width
If you are wondering how to fit the roller blind inside the window frame, measure the width of the blind (mounting brackets as well). Leave about 5 millimetres of space on each side of the frame for easy fitting of the brackets.
Decide on which side you want to place the chain
Decide whether you want to place the cord to the left or to the right of the blind. After marking the position, fixes the brackets inside or against the frame and the bracket, with a hexagonal head fitting.
Place the brackets on the window frame or wall.
Decide on the position of the first bracket and mark the holes.. If you are going to place the bracket on the window frame, pre-drill it with a fine wood drill bit. If you are going to do it on the wall, use a masonry drill bit and dowels of the same dimensions. Then, place the first bracket and lightly tighten the screws. With a long strip of wood and a spirit level, adjust the roller so that it is horizontal. Then mark the holes for the second bracket.
Fixing the brackets to the ceiling
Calculate the centre of the window frame and use a checking bracket to mark this point on the ceiling. From there, measure the positions of the brackets on the left and right (half the full length with each).
Cutting the blind to the right width
Before trimming the roller, subtract the thickness of the brackets to the width you have noted. As a rule of thumb, take 2-4 centimetres off the measured width. Mark the new width on the roller and remove the excess. Put the doweled border on the roller. Cut the bottom rail of the blind to the same width.
Cutting the fabric to size
To measure and cut the blind fabric, spread it out on a flat surface. After sawing, use the bottom bar to mark the same width on the fabric. At this point, cut the fabric to size. We recommend using a sharp box cutter. If you don't have one, you can also try using sharp scissors.
Fixing the fabric to the roller
Remove the protective film from the adhesive tape on the roller. The fabric must be rolled up and unrolled on the window side. Check on which side the chain mechanism is located. When attaching the fabric to the roller, it must be horizontally level. Otherwise, it would not be able to roll up properly. Fold the final 5 centimetres of the fabric, making a precise crease. Then place the roller on the fold with the sticky tape facing upwards. Using both hands, roll the roller upwards, until you reach the top end of the fabric and check that it is straight. Then roll up three quarters of the roller blind and insert the bottom bar into its opening.
Hanging the blind
The blind is now ready to be hung. Now, insert the roller on the square containing the chain mechanism. Then do the same on the remaining square, and you're done!
Conclusion
Now you know how to install a roller shutter. Installation is quick and easy, so you can have your new roller shutters up and running in no time. By the way, if you need more information, you can get it in our post on the installation of blinds We will be happy to advise you!