How to make homemade mosquito nets: step by step
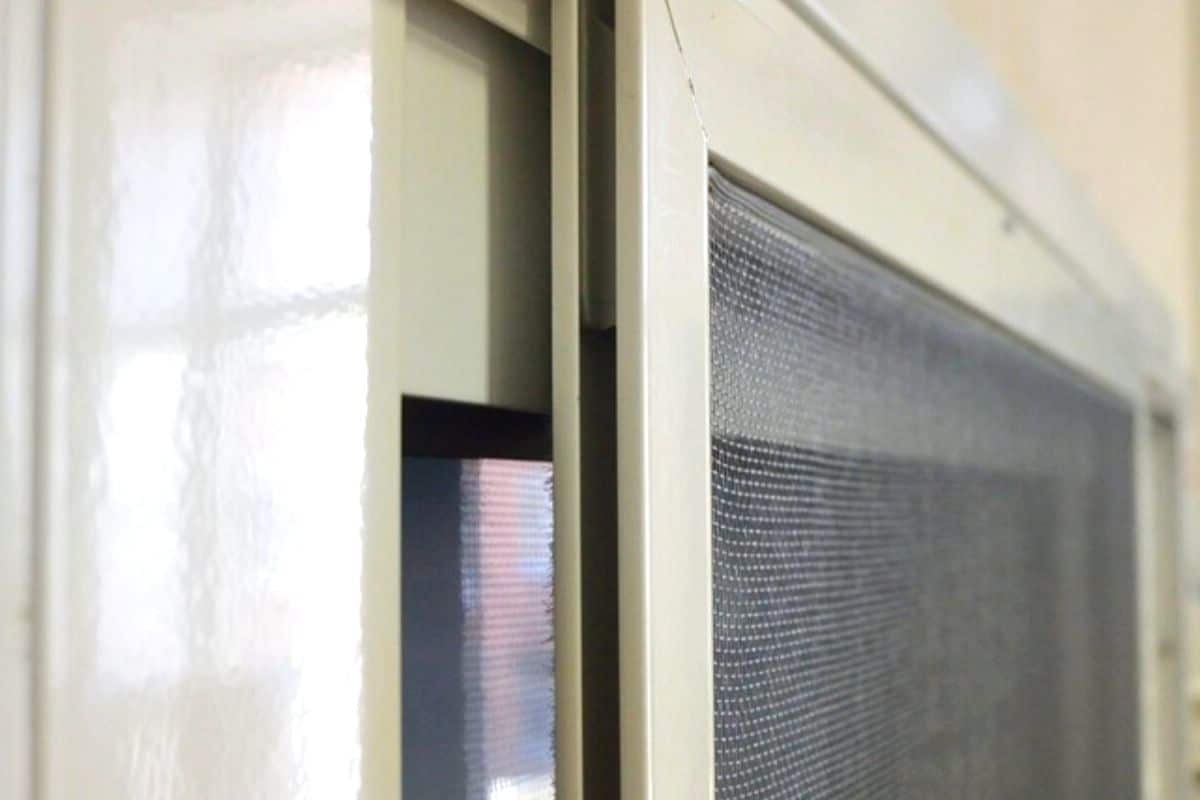
Do you want to make your own mosquito net to protect your home from insects, dust and pollen? In this post we show you how to making homemade mosquito nets step by step with few materials.
Materials for making homemade mosquito nets
Below you will find the materials you need to make a homemade mosquito net:
- MeshWhen purchasing your own, you should bear in mind that its holes must have a maximum size of 1.2 millimetres to prevent the entry of the smallest insects; therefore, the mosquito netting that you can purchase from Sistemas 24H is made of fibreglass and finished in PVC, to guarantee greater durability. In addition, it has a maximum size of 0.28 millimetres.
- Metro or flexometer.
- Wood cutting saw.
- Staples and wood staplerYou can also use carpenter's glue, screws and masking tape.
- Wooden stripsIdeally, they should be 10 millimetres thick and 20 millimetres wide.
- Metal bracket.
- Large table.
- Mitre box.
- Pencil and scissors.
How to make homemade mosquito nets: step by step
Mosquito nets are ideal to cover spaces of any size and prevent insects from entering your home, protecting all your loved ones from bites and buzzing. Here we show you how to make homemade mosquito nets following a few simple steps:
- Measure the spaceYou have to subtract the thickness of the vertical strip from the total width on both sides, so if the strip is 3 cm thick and the total width is 75 cm, you will have a total space of 69 cm.
- Check the measurementIt is possible that there may be small differences in the frame of your door or window, especially if it is an old entrance, so it is best to take several measurements, at different points. If this is the case, you should take the smallest measurement into account.
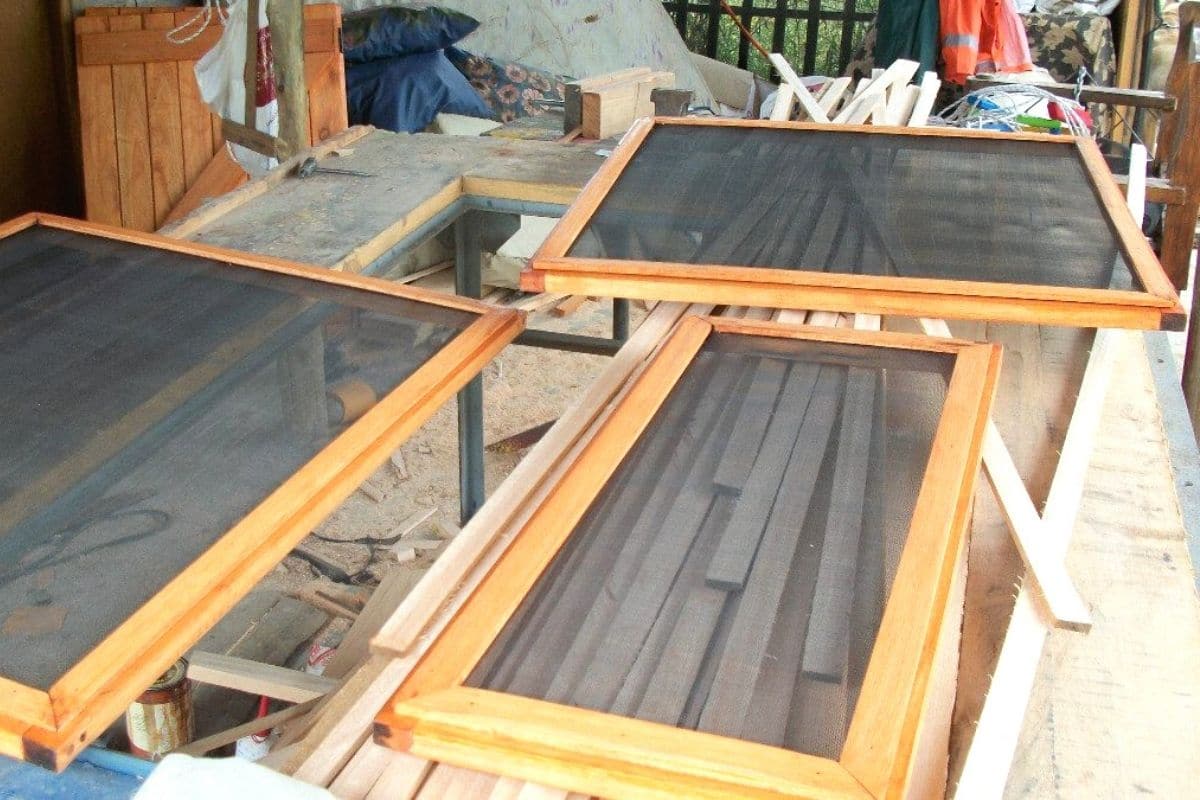
- Cut the slatsUse a rib saw to cut the slats in a mitre box, then lay them on a wide table and form the frame you want. It is best to have two horizontal rails, two vertical rails and a slat in the middle for durability and strength.
- Join the ribbonsStaple the corners and the reinforcement strip in the centre, you can use a square to check that they are at a 90° angle. If you have an electric stapler, you should adjust the pressure according to the thickness and hardness of the wooden strip; when you have finished, check that the screen is square and then apply a second staple.
- Without wood staplerIn this case, you should make the joint using carpenter's glue and putting some screws in the frame, in order to get a more solid surface.
- Cut the mosquito nettingIt is best to use a pair of scissors to do this and leave a few extra centimetres on each side of the support.
- Put the meshThe ideal is to start stapling in one corner and hold the screen with the other hand, preventing it from moving; it is best to staple the 4 corners first. If you don't have a stapler, you can use masking tape; this should be placed in those areas that you think will need more reinforcement.
- Tighten the meshThe intention of this step is to make the fabric tight and crease-free, so it is best to stretch the fabric with one hand and staple the mosquito net from the centres of each square.
- Staple the centresto finish to ensure a correct finish, ideally, you should tense the areas close to the previous centres and staple them there.
- Cut the extra fabricThe mesh is completely taut, so you can cut it without fear.
- Turn the mosquito netThis step is not compulsory but it will give your mosquito net structure more strength; in this case, you should staple the corners and the central strip again, but you should only put one staple because if you add more, you may weaken the frame too much.
How to install
To finish making your homemade mosquito nets, all you have to do is to fix it to the door or window of your home. If it is going to be fixed, it must be screwed down, but if it is going to be a sliding insect screen you will have to insert it into the rails of your frame. On the other hand, if you your frame is made of woodIt is recommended that you use two screws to secure it, one on each side.
The only drawback of this task is that, if you do not have the right materials and have to buy them, it can take more effort and investment to make a homemade mosquito net than to buy a ready-made one. For example, in our online shop we take care of creating your made-to-measure mosquito netsof the type you want, at the lowest price.
Advantages of installing an insect screen
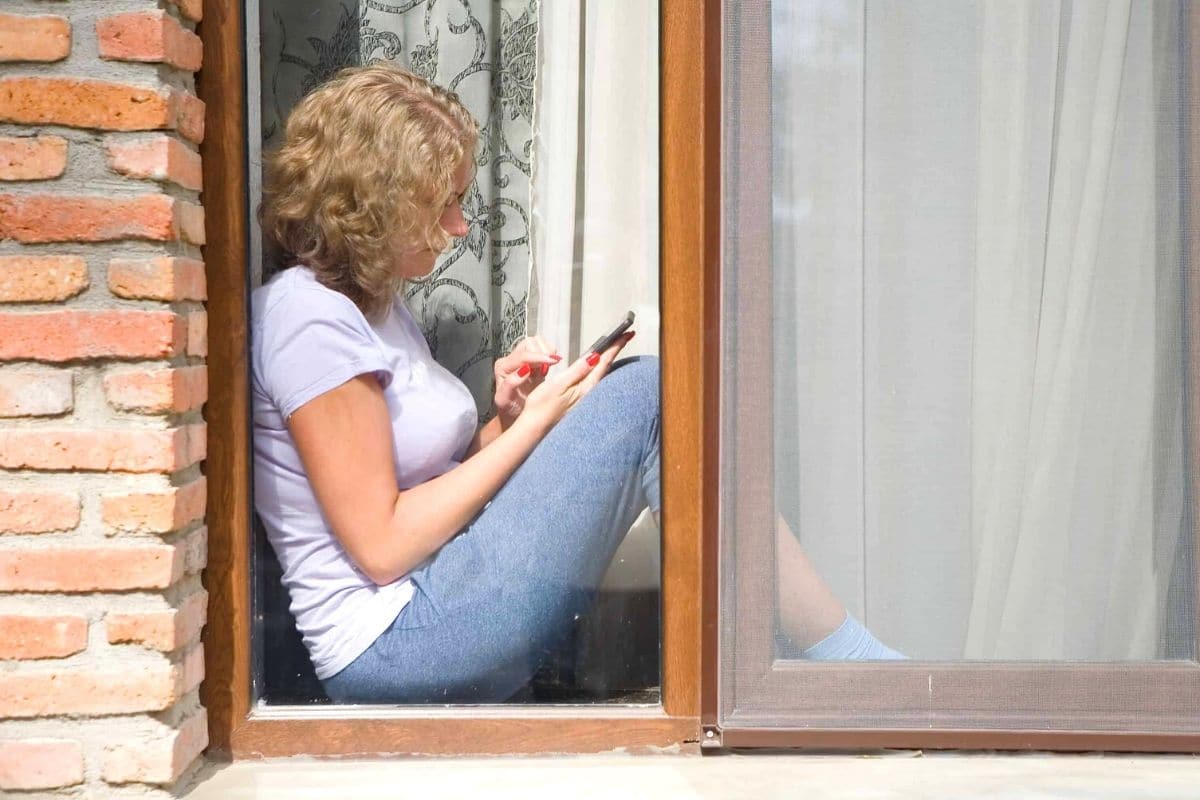
Mosquito nets are the most demanded products They allow you to ventilate your home and open all your doors and windows without the risk of insects entering; in this way, you can ventilate your home in the evenings, especially in summer, allowing fresh air to enter the interior.
In addition to insects, mosquito nets are also ideal for prevent the ingress of dust, pollen, dirt, etc. and any substances that may be in the air and harmful to your health; this will also save you from having to use insecticides and chemicals.
On the other hand, its installation will help you to save on your energy billsThe air-conditioning will no longer need to be on all night, which will reduce electricity consumption and, at the same time, help to improve the environment.
Finally, another of the advantages of mosquito nets is that they provide you with a greater privacyFor example, the insect screens that you can find in our online shop are made in grey, so that passers-by can't see inside your home but you can see what's going on outside.
What are you waiting for? Enjoy all the advantages of installing a mosquito net in your house and forget about pesky mosquitoes forever.

