Guía para Montar un Motor en una Persiana Enrollable
Guía completa para que montar el motor en una persiana enrollable sea fácil y rápido. La automatización del hogar ha llegado para hacernos la vida más cómoda y funcional.
Aquí, te sumergirás en el fascinante mundo de montar un motor en una persiana enrollable. Aprenderás sobre los beneficios de esta tecnología y los pasos para realizar la instalación por ti mismo y cómo esta innovación está cambiando la forma en que interactuamos con nuestros espacios.
El Encanto de la Automatización: Ventajas de Montar un Motor en una Persiana Enrollable
Las persianas enrollables son una opción popular para cubrir ventanas debido a su diseño práctico y elegante. Sin embargo, cuando se monta un motor en ellas, se abren nuevas puertas de comodidad y eficiencia. Al automatizar tus persianas, disfrutarás de beneficios como:
Conveniencia: Olvídate de la necesidad de tirar de cuerdas o ajustar las persianas manualmente. Un simple control remoto o una aplicación en tu teléfono inteligente te permitirá abrir y cerrar las persianas sin moverte de tu asiento.
Eficiencia Energética: La automatización te permitirá programar horarios para abrir o cerrar las persianas en función de la luz solar o la temperatura exterior. De esta manera, podrás aprovechar la luz natural y mantener una temperatura agradable en el interior de tu hogar, lo que reducirá el consumo energético y tus facturas.
Seguridad: Al estar equipadas con un motor, tus persianas pueden simular tu presencia en casa cuando estás fuera de ella. Esto disuadirá a posibles intrusos y aumentará la seguridad de tu hogar.
Durabilidad: Montar un motor en tus persianas enrollables puede prolongar su vida útil al reducir el desgaste que puede ocurrir con el uso manual.
Ahora que hemos descubierto las ventajas, es momento de aprender cómo llevar a cabo la instalación de manera exitosa.
Pasos para Montar un Motor en una Persiana Enrollable
Es importante tener en cuenta que la instalación puede variar según el tipo de persiana y el modelo de motor que elijas. Asegúrate de seguir las instrucciones proporcionadas por el fabricante específico de tu motor. Sin embargo, aquí hay una guía general para montar un motor en una persiana enrollable:
Paso 1: Preparación
Antes de comenzar con la instalación de la automatización de persianas desde el móvil, es importante asegurarse de que tienes todas las herramientas necesarias a mano. Para llevar a cabo este proceso con éxito, asegúrate de contar con los siguientes elementos:
- Taladro: Necesitarás un taladro para hacer los agujeros necesarios en la pared o marco de la ventana, donde se colocarán los soportes para la automatización.
- Tornillos: Asegúrate de contar con los tornillos adecuados para fijar los soportes en su lugar de forma segura.
- Destornillador: Un destornillador será necesario para apretar los tornillos y asegurar una instalación firme y estable.
- Nivel: Utiliza un nivel para asegurarte de que los soportes y la persiana estén perfectamente alineados y nivelados, evitando así posibles desajustes.
- Cinta métrica: Para garantizar una instalación precisa, mide cuidadosamente las distancias y dimensiones necesarias para colocar los soportes y la persiana correctamente.
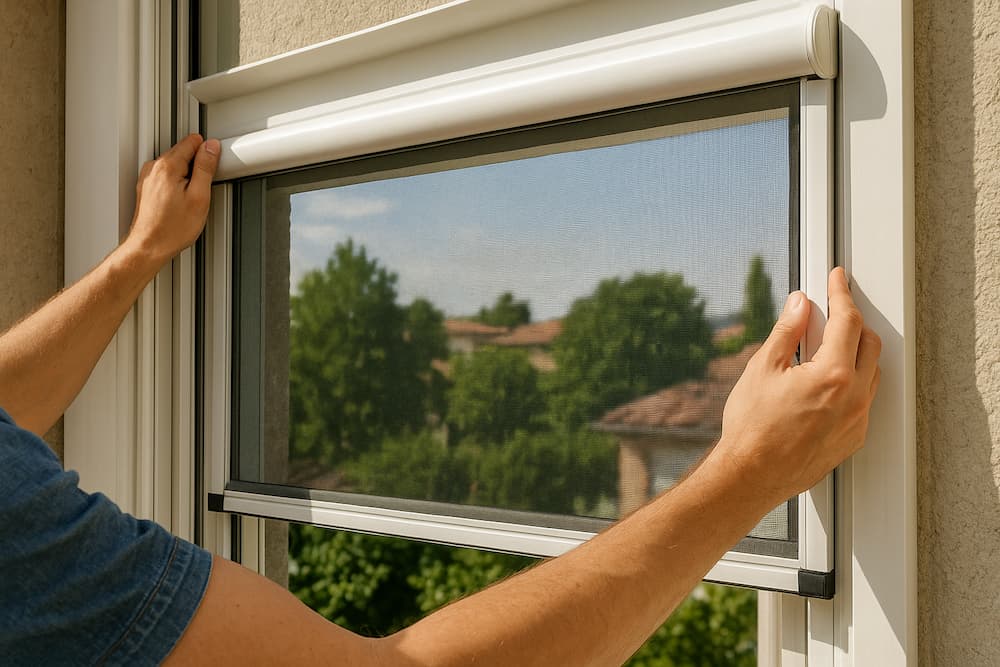
Paso 2: Retirar la Persiana
Antes de comenzar la instalación del motor para la persiana, es necesario retirar la persiana enrollable de su lugar actual. Sigue estos pasos para hacerlo correctamente:
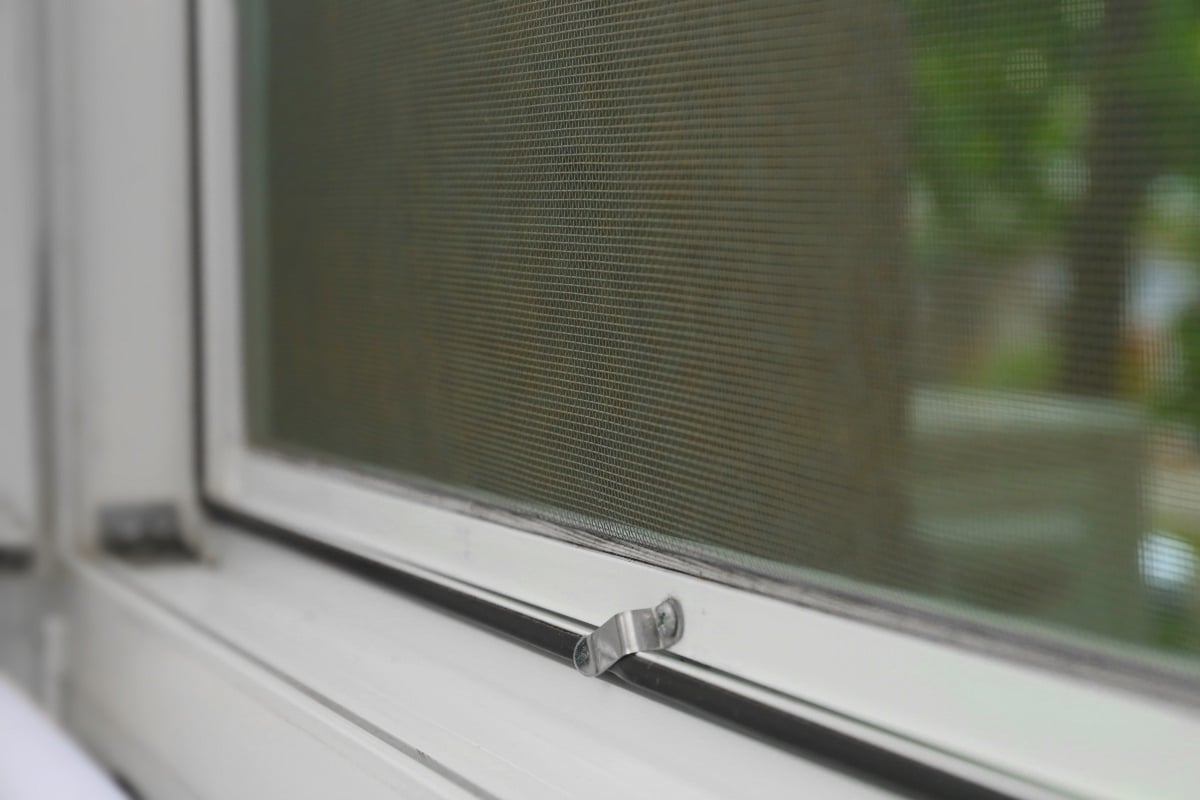
- Localiza los puntos de fijación: Examina la persiana y busca los puntos de fijación que la mantienen en su lugar. Por lo general, estos puntos estarán ubicados en los laterales o en la parte superior e inferior de la persiana.
- Afloja los tornillos: Utiliza un destornillador para aflojar los tornillos que sujetan la persiana a estos puntos de fijación. Con cuidado, retira los tornillos y guárdalos en un lugar seguro, ya que los necesitarás más adelante.
- Retira la persiana: Una vez que hayas aflojado los tornillos, podrás retirar la persiana enrollable de su lugar. Si es una persiana pesada, es recomendable contar con la ayuda de otra persona para evitar daños o accidentes.
- Colócala en una superficie segura: Coloca la persiana en una superficie plana y segura, como una mesa o el suelo, para que puedas trabajar cómodamente en su instalación.
- Limpieza y cuidado: Antes de continuar con la instalación del motor, asegúrate de limpiar adecuadamente la persiana. Elimina el polvo y la suciedad acumulada para garantizar un funcionamiento óptimo del motor.
Una vez que hayas retirado la persiana y la hayas limpiado, estarás listo para proceder con la instalación del motor. Sigue las instrucciones proporcionadas por el fabricante para montar el motor en la persiana enrollable de manera segura y eficiente. Recuerda seguir cada paso con precisión y, si es necesario, busca la asistencia de un profesional para asegurarte de que la instalación sea exitosa. Con el motor correctamente instalado, podrás disfrutar de la comodidad y la practicidad de controlar tus persianas desde el móvil en cualquier momento y lugar.
Paso 3: Preparar el Motor
Antes de proceder con la instalación del motor en la persiana, es importante realizar algunas preparaciones previas para asegurar un montaje adecuado. Sigue estos pasos para preparar el motor:
- Verifica la compatibilidad: Asegúrate de que el motor que tienes sea compatible con el tipo de persiana que vas a automatizar. Revisa las especificaciones del motor y las recomendaciones del fabricante para garantizar una instalación sin problemas.
- Ensambla los accesorios: Si el motor viene con accesorios o componentes adicionales, como soportes o adaptadores, asegúrate de ensamblarlos según las indicaciones del fabricante. Estos accesorios son fundamentales para asegurar una instalación segura y eficiente.
- Comprueba la configuración: Algunos motores pueden tener configuraciones ajustables, como la velocidad de subida y bajada de la persiana. Verifica que la configuración del motor esté adecuada para tus necesidades y preferencias.
- Conecta el motor: Si el motor requiere algún tipo de conexión eléctrica, asegúrate de realizarla siguiendo las instrucciones proporcionadas por el fabricante. Si no tienes experiencia en conexiones eléctricas, es recomendable buscar la ayuda de un electricista calificado.
- Realiza pruebas previas: Antes de montar el motor en la persiana, realiza pruebas para asegurarte de que funcione correctamente. Verifica que el motor responda adecuadamente a los comandos de apertura y cierre desde la aplicación móvil o el interruptor conectivo.
- Ajuste y calibración: Algunos motores pueden requerir ajustes y calibraciones específicas para adaptarse al tamaño y peso de la persiana. Asegúrate de seguir las instrucciones del fabricante para realizar estos ajustes correctamente.
Una vez que hayas preparado el motor y verificado su funcionamiento, estarás listo para montarlo en la persiana. Sigue las instrucciones proporcionadas por el fabricante para realizar el montaje de forma segura y eficiente. Recuerda que una correcta instalación garantiza un funcionamiento óptimo del motor y te permitirá disfrutar de todas las ventajas de controlar tus persianas desde el móvil con total comodidad y facilidad.
Paso 4: Conexión Eléctrica
Una vez que has preparado el motor y lo has montado en la persiana, es momento de realizar la conexión eléctrica para asegurar su correcto funcionamiento. La conexión eléctrica puede variar dependiendo del tipo de motor y del sistema de automatización que estés utilizando, así que es importante seguir las instrucciones específicas proporcionadas por el fabricante. A continuación, te ofrecemos algunos pasos generales a considerar:
- Apaga la energía: Antes de realizar cualquier conexión eléctrica, asegúrate de apagar la energía en el cuadro eléctrico para evitar accidentes y descargas eléctricas. Si no estás seguro de cómo hacerlo, busca la ayuda de un electricista calificado.
- Identifica los cables: En el motor y en el sistema de automatización, identifica los cables que se utilizarán para la conexión eléctrica. Por lo general, encontrarás cables de alimentación y cables de control.
- Conecta los cables de alimentación: Conecta los cables de alimentación del motor a la fuente de energía eléctrica, ya sea directamente a la red eléctrica o a través de un transformador si es necesario. Sigue las indicaciones del fabricante para asegurar una conexión segura.
- Conecta los cables de control: Los cables de control son los que permitirán enviar las señales para abrir y cerrar la persiana. Si estás utilizando un sistema conectivo o una aplicación móvil, asegúrate de seguir las instrucciones para conectar los cables de control al sistema adecuadamente.
- Asegura las conexiones: Una vez que hayas realizado todas las conexiones, asegúrate de que estén bien sujetas y aisladas para evitar problemas futuros.
- Realiza pruebas: Después de realizar la conexión eléctrica, vuelve a encender la energía y realiza pruebas para asegurarte de que el motor responde correctamente a los comandos de apertura y cierre desde el sistema de control.
Recuerda que la conexión eléctrica es una parte crítica de la instalación del motor de persiana, por lo que es fundamental seguir las instrucciones del fabricante y tomar todas las precauciones necesarias para evitar accidentes. Si no te sientes seguro realizando esta tarea, siempre es recomendable buscar la ayuda de un profesional electricista.
Paso 5: Prueba del Funcionamiento
Antes de volver a colocar la persiana en su lugar, realiza una prueba del funcionamiento del motor. Verifica que se mueva suavemente y que responda correctamente a los comandos del control remoto o la aplicación.
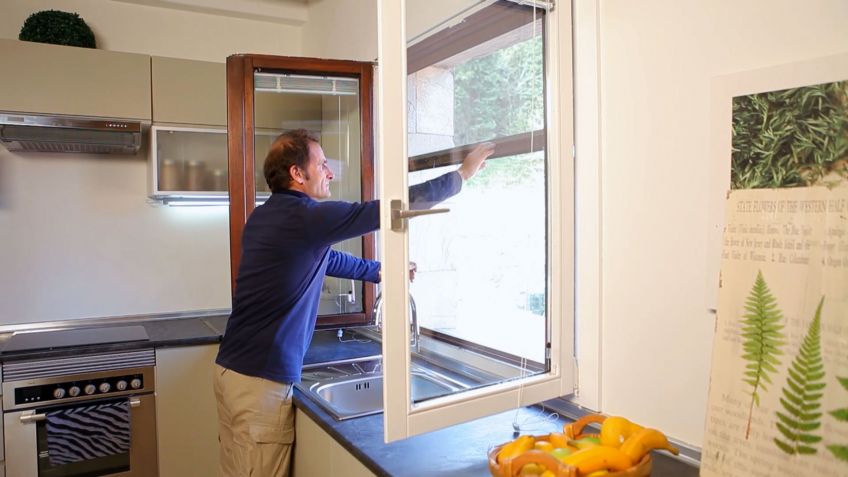
Paso 6: Reinstalación de la Persiana
Una vez que hayas confirmado que el motor funciona correctamente, vuelve a colocar la persiana en su lugar. Asegúrate de fijarla de manera segura para evitar movimientos bruscos o caídas.
Paso 7: Configuración de la Automatización
Si tu motor ofrece opciones de automatización, como programación de horarios, ajuste de sensores o integración con sistemas domóticos, configúralo según tus preferencias y necesidades.
Paso 8: Mantenimiento
Recuerda realizar un mantenimiento regular del motor y las persianas enrollables para garantizar un funcionamiento óptimo a lo largo del tiempo.
En conclusión, el proceso de montar un motor en una persiana enrollable nos brinda la oportunidad de dar un salto hacia la automatización del hogar, convirtiendo un elemento cotidiano en una herramienta moderna y funcional.
A lo largo de la historia de las persianas, hemos pasado de los sistemas manuales a la conveniencia de las persianas eléctricas. Ahora, con la incorporación de motores para persianas, damos un paso más hacia la comodidad y eficiencia en nuestros espacios.
El mantenimiento de persianas eléctricas y sus motores es esencial para garantizar un funcionamiento óptimo y prolongar su vida útil. Realizar ajustes y limpieza periódicamente nos permitirá disfrutar de un movimiento suave y silencioso, además de prevenir posibles problemas a largo plazo.
La instalación de un motor en una persiana enrollable puede ser un proyecto emocionante para quienes buscan mejorar su hogar y adoptar soluciones de automatización. Al hacerlo, obtenemos ventajas como la conveniencia de un control remoto o una aplicación en nuestro smartphone, la eficiencia energética al programar horarios y la seguridad al simular nuestra presencia en casa.
En definitiva, montar un motor en una persiana enrollable es una inversión que nos permitirá disfrutar de una experiencia mejorada en nuestro hogar, adaptándonos a los avances tecnológicos y aprovechando al máximo las ventajas de la automatización.
Así, con un mantenimiento adecuado, nuestros espacios se llenarán de comodidad, funcionalidad y modernidad gracias a esta innovadora tecnología.
¡Demos el paso hacia el futuro de la automatización en el hogar con persianas enrollables motorizadas!